In a world where every financial solution is a swipe or a tap away, the most effective tool for gaining real control might be the one you can hold in your hands. If the silent drift of autopay and the abstract numbers of a budgeting app leave you feeling disconnected from your money, a physical budget binder setup guide offers a powerful, tactile reset. This isn’t about nostalgia or rejecting technology; it’s a deliberate strategy to build the financial mindfulness that automation often erodes. By translating your finances into a tangible system of paper, envelopes, and pen, you create a direct, visual feedback loop between your decisions and their consequences. For the beginner, the visual learner, or anyone who feels overwhelmed by digital spreadsheets, this hands-on method transforms budgeting from a vague chore into a concrete, empowering practice.
A budget binder setup guide walks you through creating a tangible, paper-based system to track your income, plan expenses, and manage cash using envelopes and simple tracking sheets. It’s designed to build financial awareness through a hands-on process that digital apps often lack. Think of it as your central command post for a cash budget binder system, where every dollar has a designated home and purpose, making your financial plan visible and actionable from the moment you open the binder.
Why a Tangible Budget Binder Beats Digital Drift
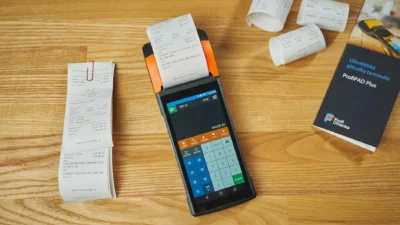
Digital budgeting apps promise automation and ease, but that very convenience can create a dangerous disconnect. Money becomes an abstract number that changes in the background, leading to what we might call “automation blindness.” You stop feeling the transaction. A physical budget binder counters this by making your finances undeniably real. The act of writing down an expense, moving cash from an envelope, or coloring in a savings goal engages multiple senses, which It is indicated can enhance memory and commitment. It transforms budgeting from a passive tracking exercise into an active management practice.
This system is particularly powerful for certain types of people. If you’ve ever felt overwhelmed by app notifications or found yourself ignoring your budget because it’s “out of sight, out of mind,” a hands-on approach can be your reset button.
Who benefits most from a manual budgeting system?
- Visual learners: Seeing your entire financial month on paper provides a map that pie charts often can’t match.
- Impulse spenders: The physical barrier of using cash creates a moment of pause that a card swipe eliminates.
- Beginners feeling overwhelmed: Starting with one binder and a few categories is less intimidating than a complex app with 100 features.
- Anyone needing a “financial detox”: It rebuilds fundamental awareness of where money comes from and where it goes.
Your Budget Binder Toolkit: The 5 Essential Components
A successful budget planner setup doesn’t require fancy supplies. It’s about function. Gather these five core components, and you’ll have everything you need for a complete cash budget binder system.
1. The Binder & Organizers
A simple 1-inch or 1.5-inch three-ring binder is perfect. You’ll also need a set of 5-8 tab dividers to create clear sections. A pencil pouch stocked with pens, a calculator, and a small stapler for receipts keeps tools at hand.
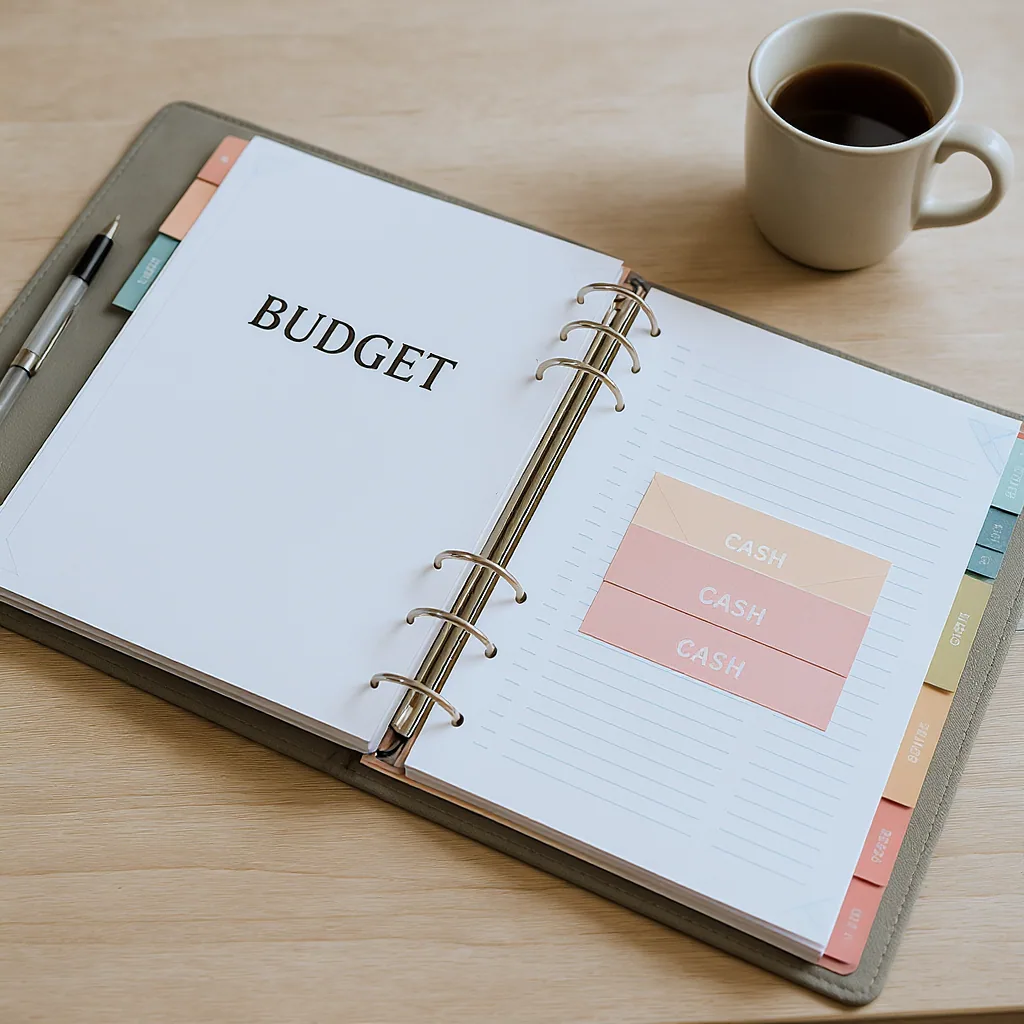
2. Cash Envelopes
The heart of the tactile system. You can use plain white envelopes, colorful ones from a craft store, or even specialized laminated envelopes designed for repeated use. The key is having one for each variable spending category (like Groceries, Dining Out, Fun Money).
3. Income & Expense Tracking Sheets
This is your command center. Printable monthly budget templates are widely available online for free. Look for one that lists your income at the top, all your fixed and variable expenses in the middle, and a section for savings/debt payments at the bottom. A simple ledger sheet for daily expense logging is also invaluable.
4. Bill Calendar & Due Date Tracker
A single-page monthly calendar where you write the due date and amount for every bill. This prevents late fees and lets you see your cash flow crunches at a glance. This simple tool is often the missing piece in a DIY financial binder.
5. Goal & Progress Trackers
Motivation matters. Include a sheet for your savings goals (e.g., $1,000 Emergency Fund) and debt payoff progress. A simple thermometer or bar chart you can color in as you save provides a powerful visual reward.
Imagine Sam, who just got paid. They open their new home finance binder, flip to the bill calendar, and schedule payments. Then, they head to the bank, withdraw cash for the month’s variable categories, and neatly tuck it into the labeled envelopes. That feeling—of having a plan literally in hand—is the first win. The system is no longer a vague idea; it’s organized and ready.
The Core Setup: Building Your Binder’s Foundation
With your toolkit assembled, it’s time for the main event: the budget binder organization. Follow this logical sequence to build a system that works for you, not against you.

Step 1: Create Your Binder Sections
Use your tab dividers to create these core sections: Monthly Plan (for your budget template), Tracking (for daily logs and receipts), Cash Management (home for your envelopes), and Goals & Progress. This structure keeps everything findable.
Step 2: Fill Out Your First Monthly Plan
Place a blank budget template in your Monthly Plan section. Using your last month’s bank statements, fill in your income and all fixed expenses (rent, car payment, subscriptions). Then, assign realistic amounts to your variable categories (groceries, gas, entertainment). The total “Money Out” must equal “Money In.” This is the blueprint for your cash envelope system setup.
Step 3: Prepare Your Cash Envelopes
Label each envelope with a category name and the monthly budgeted amount (e.g., “Groceries – $400”). Based on your filled-out Monthly Plan, withdraw the total cash needed for all your variable categories. Distribute the cash into the corresponding envelopes. This is the moment your paper budget tracker becomes active.
Pro Tips for a System That Sticks
- Label Clearly: Use a bold marker for envelope names. Consider color-coding categories (e.g., green for groceries, blue for gas).
- Keep It Personal: Add a photo of your savings goal to the front of your binder or use stickers. It should feel like your system.
- Start Simple: Begin with 3-5 cash categories. You can always add more next month.
- Store Securely: Keep your binder in a consistent, safe place at home—not in your car.
The Weekly Rhythm: Making Your Binder a Habit
A binder that sits on a shelf is just a notebook. The magic happens when you integrate a simple, weekly check-in. This 20-30 minute ritual is what transforms your budget planner setup from a project into a sustainable habit.
The Weekly Check-In Process
1. Gather & Reconcile: Collect all receipts from the week and any cash left in your wallet. Sit down with your binder, your envelopes, and your tracking sheet.
2. Update Your Trackers: Log every expense from your receipts onto your daily ledger, noting the category and amount. Subtract each expense from the remaining balance on your monthly plan sheet for that category.
3. Replenish & Adjust: If you use cash from an envelope, note the new remaining cash inside. This is also the time to move money between envelopes if you overspent in one category but underspent in another.
4. Review & Look Ahead: Glance at your bill calendar for upcoming payments. Color in a little more on your savings goal tracker. Acknowledge your progress, even if it’s small.
After that first weekly check-in, a common feeling isn’t exhaustion—it’s relief. You’ve confronted your spending, you know exactly where you stand, and there are no surprises lurking in your bank app. That sense of control, of actively steering your finances instead of being passively carried along, is the core reward of the system. The physical budget planner becomes a tool for peace of mind, not punishment.
Common Budget Binder Pitfalls (And How to Skip Them)
Every new system has its learning curve. Knowing these common stumbles in advance lets you navigate around them and maintain momentum with your DIY financial binder.
Pitfall 1: Perfectionism & Over-Complication
The Mistake: Spending hours designing custom printables, creating 15 sub-categories, and demanding flawless penmanship from day one. This leads to burnout.
The Skip: Embrace “good enough.” Use a free printable. If you buy coffee, just write “Coffee – $5.” The goal is awareness, not calligraphy. Your system should serve you, not the other way around.
Pitfall 2: Inconsistent Cash Use
The Mistake: Withdrawing cash for envelopes, but then pulling out your debit card for a “quick” grocery trip because it’s easier. This completely defeats the psychological power of the cash budget binder system.
The Skip: Commit fully for one month. Leave your cards at home when shopping in a cash category. Feel the tangible exchange of money. This friction is the feature, not a bug—it builds mindfulness.
Pitfall 3: Skipping the Weekly Check-In
The Mistake: Letting receipts pile up for weeks, making reconciliation a daunting, hour-long task you’ll avoid.
The Skip: Schedule it. Put a 30-minute “Money Date” on your calendar for the same time every week. Make it pleasant—grab a coffee while you do it. Consistency beats intensity every time.
Pitfall 4: Getting Discouraged by Overspending
The Mistake: Seeing you overspent on dining out in week one and deciding the “whole budget is broken.”
The Skip: Reframe it as data, not failure. Your first month’s numbers are often a reality check, not a target. Use that information to adjust next month’s budget amounts to be more realistic. Progress, not perfection.
Your Finances, In Your Hands
In a world of digital noise and automated everything, taking physical control of your money is a profoundly empowering act. This budget binder isn’t about restriction; it’s about clarity. It gives you a space to make intentional decisions, to see your progress literally grow on a page, and to build a healthier relationship with your finances through simple, consistent action.
Remember, the goal isn’t to create a perfect archive of your spending. The goal is to build the awareness and habits that lead to financial confidence. If your envelopes are a little worn and your tracking sheet has a few scribbled corrections, that means you’re using it. That’s the sign of a system that’s truly working. Start where you are, use what you have, and trust the process. You’ve got this.
This guide walked you through creating a tangible budgeting system that builds financial awareness where digital apps often fail. The core mindset shift is moving from passive tracking to active, tactile control.
The process breaks down into two key phases: First, assembling your toolkit—a binder, dividers, cash envelopes, and key tracking sheets. Second, committing to the weekly rhythm of reconciling expenses, updating trackers, and reviewing your plan. By avoiding common pitfalls like over-complication and inconsistent cash use, you transform this simple binder into a powerful habit for lasting financial control.