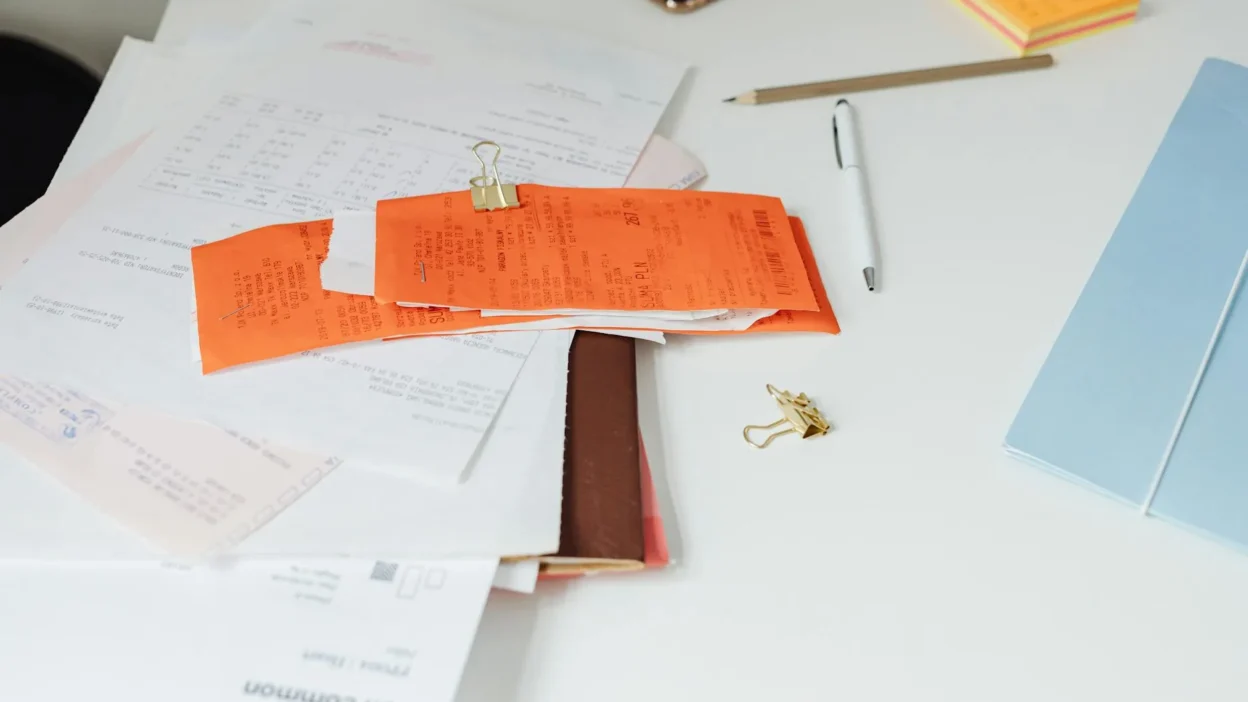
That pile of paper on your desk isn’t just clutter—it’s a source of low-grade financial anxiety. Every unopened statement, every faded receipt, every mysterious tax form whispers a question you don’t have the answer to: “Should I keep this?” The paralysis of not knowing what to file, what to scan, or what to toss keeps us holding onto everything, creating a physical monument to money stress. But it doesn’t have to be that way. Organizing your financial documents at home isn’t about becoming a professional archivist; it’s about implementing a simple, clear protocol that turns chaos into control. This budget paperwork checklist cuts through the noise with a straightforward triage system: File, Scan, or Toss. By applying this three-category filter to every document, you’ll create immediate order and build a system for long-term peace of mind, ensuring you can find what you need when you need it—and confidently let go of the rest.
A budget paperwork checklist simplifies the chaos by sorting documents into three clear actions: File (permanent records), Scan (temporary but important), or Toss (expired clutter). Start by gathering all your papers and applying this protocol. File originals of vital records like tax returns, property deeds, and wills in a secure, fireproof location. Scan items like utility bills and warranty receipts for digital reference, then shred the originals. Immediately recycle outdated statements, expired offers, and duplicates. This framework provides an immediate, actionable system for your receipt filing checklist and overall document organization.
The 3-Action Protocol: File, Scan, or Toss
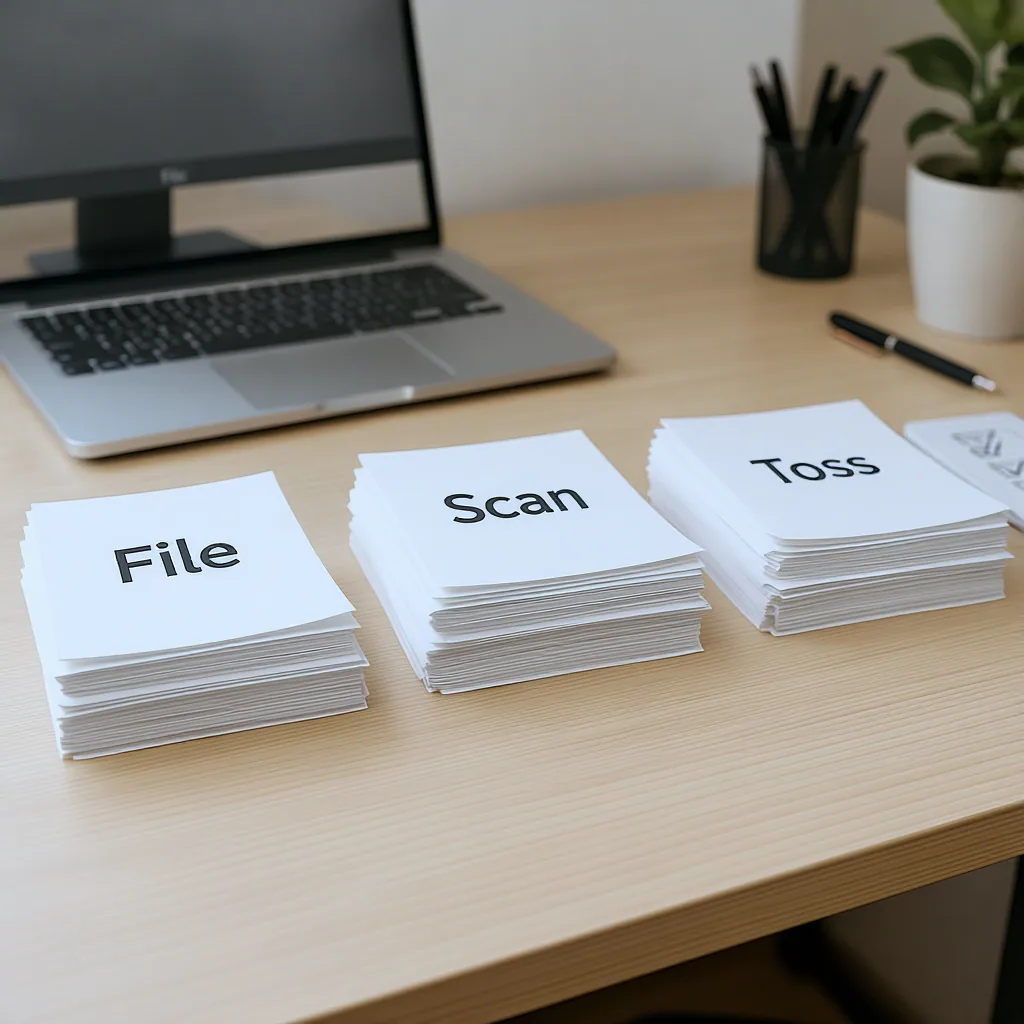
The anxiety of paper clutter comes from not knowing what to do with each piece. This simple protocol cuts through that paralysis. Every single financial document you own fits into one of three categories, each with a clear action attached.
File: These are your permanent, irreplaceable records. They require the original paper copy, stored securely. Think birth certificates, property deeds, and wills.
Scan & Shred: This is for important but temporary documents—things you need for reference, warranties, or tax support, but where a digital copy is just as good as the paper. Once scanned and backed up, the physical copy can be shredded.
Toss: This is the clutter. These are papers that have outlived their usefulness, are duplicates, or contain no actionable information. Recycling or shredding them creates immediate space and mental clarity.
Your entire financial document organization system is built on this triage. Start by gathering every loose paper into one spot (the dining table works) and sorting them into these three piles. Don’t overthink it yet; just make the first, broad cut.
What to File Forever (The Permanent Records)
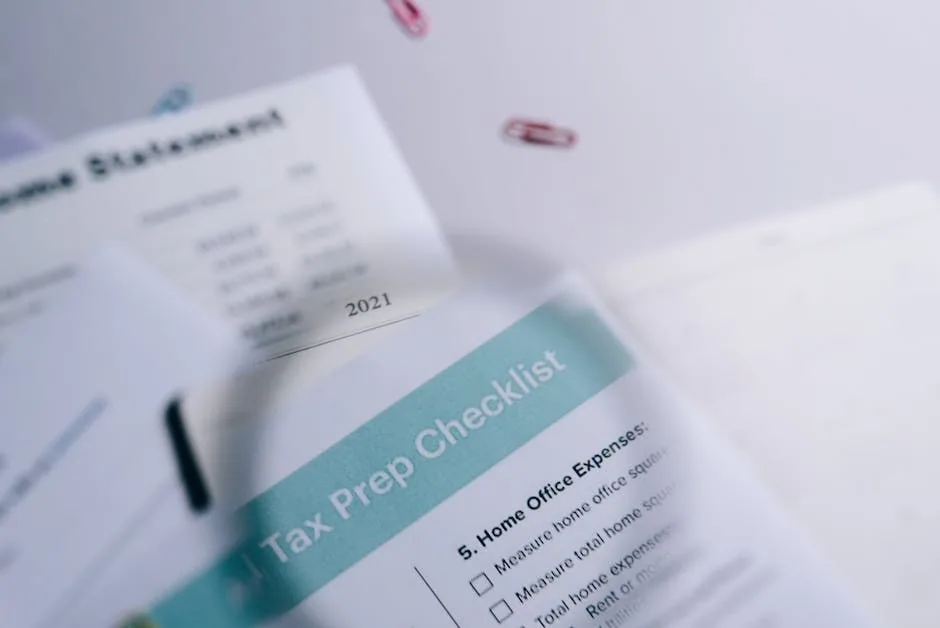
Photo by Leeloo The First on Pexels
This “File Forever” category is non-negotiable. These documents prove your identity, ownership, and legal agreements. They are difficult or impossible to replace and often require an original. Store these in a fireproof lockbox or a safe deposit box.
Your Permanent File Checklist:
- Personal Identification & Records: Birth certificates, adoption papers, marriage licenses, divorce decrees, citizenship papers, passports (expired and current), and Social Security cards.
- Property & Ownership Documents: Real estate deeds, vehicle titles, and home inventory lists with photos/video.
- Estate & Legal Documents: Wills, living wills, powers of attorney, and trusts. Keep the signed originals.
- Tax Returns & Supporting Docs: Keep the signed copy of your federal and state tax returns permanently. The IRS can audit returns up to seven years old, so keep all supporting documents (W-2s, 1099s, receipts for deductions) for seven years. After that, you can usually shred the supporting docs, but many advisors recommend keeping the actual return forever.
- Investment & Pension Records: Documentation of pension plans, retirement account contributions (especially non-deductible IRA contributions), and records of stock purchases.
When you organize financial documents at home in this category, use a dedicated, labeled folder or envelope for each major type (e.g., “Tax Returns – 2020-2024,” “Property,” “Personal IDs”). The goal is to know exactly where anything is in under 60 seconds.
What to Scan & Shred (The Digital Archive)
This category is the workhorse of your paperwork filing system. It includes documents you need to reference but don’t need in physical form. Scanning them creates a searchable, space-saving digital archive. The key is to have a consistent system so you can find what you need.
The Scanning Process:
Use a scanner, a scanning app on your phone (like Adobe Scan or Microsoft Lens), or even your multi-function printer. Scan documents as PDFs for universal readability. As you scan, immediately give the file a clear name. A good format is: YYYY-MM-DDVendorPurpose.pdf (e.g., “2025-03-15ApplianceCoDishwasherReceipt.pdf”).
Your Digital Filing Structure:
Create a simple folder hierarchy on your computer and sync it to a cloud service (like Google Drive, Dropbox, or iCloud) for automatic backup. A basic structure could be: Finances > Receipts > [2025] > [Home] or [Medical]. Also have folders for Insurance Policies, Warranties, Utility Bills, and Bank Statements.
Scenario: Your two-year-old refrigerator dies. Instead of digging through a drawer full of papers, you open your “Warranties” folder, search for “refrigerator,” and instantly have the PDF of your receipt and warranty terms to file a claim.
Once a document is scanned, verified, and saved in your cloud-backed system, you can safely shred the physical copy. This process is the core of a modern receipt filing checklist—transforming paper chaos into digital order.
What You Can Safely Toss Right Now
This is where you get quick wins and reclaim physical space. Be decisive. If a document doesn’t fit the “File Forever” or “Scan for Reference” criteria, it likely belongs here. When in doubt, ask: “What’s the worst-case scenario if I shred this?” If the answer is “I might have to look up a transaction online,” it’s probably safe to go.
Immediate Toss List:
- Old Utility & Phone Bills: Once paid and you’ve verified the charge is correct, shred them. You can access past statements online if needed.
- Expired Warranties & Coupons: These are just clutter.
- Paid Credit Card Statements: After you’ve confirmed the payment and no disputes are pending (typically 60 days), you can shred them. Keep any statements related to tax deductions for seven years.
- Bank Statements: For routine checking/savings accounts, shred old statements once you’ve reconciled them. Keep statements related to tax documentation.
- Duplicate Documents: You only need one copy of a receipt or statement.
- Junk Mail & Marketing Materials: Recycle them immediately.
- Manuals for Products You No Longer Own: These can almost always be found online.
Adopting this paperwork decluttering checklist mindset regularly—perhaps during a monthly finance review—prevents piles from forming again. A shredder and a recycling bin are your best friends for this category.
Your Next Step to Paperwork Peace
The power of this system isn’t in perfection; it’s in action. You don’t need to organize every document in your house tonight. The goal is to break the cycle of overwhelm.
Your decisive next step is this: within the next seven days, block off 30 minutes. Gather every paper from one notorious spot—the kitchen counter, your desk drawer, or the dreaded “to-file” box. Apply the protocol. File the forever documents. Scan and shred one important receipt. Toss a handful of expired papers. That’s it.
That single session will prove the system works and build the momentum to tackle the next pile. Consistent, small efforts using this clear budget paperwork checklist framework will transform your relationship with financial documents from one of stress to one of control.
You can find a deeper explanation here: Receipt and Budget Document Storage Guide.